
The participant list displays all participants (or teams) that are shown on that map. Each row corresponds to a participant, whilst the columns most commonly show the position, number, nationality, name, distance and last report time.
On some maps, this will vary slightly and columns may be hidden. On mobile devices, columns are often hidden to accommodate narrower screens.

Before the Start
Before the map has started, participants will be listed without any tracking details visible, since the map is not yet recording data. Next to their name, Ready to start will be displayed. If this is showing as green, then their device has recently sent data.

Our maps begin checking for tracking data 14 days before the start with third-party trackers and 7 days before for FMC devices. In the 48 hours before the scheduled start time, the map then begins pulling in the last ping transmitted by the device – displaying when this was and the device’s battery level. See Before the Start.

Participant Row
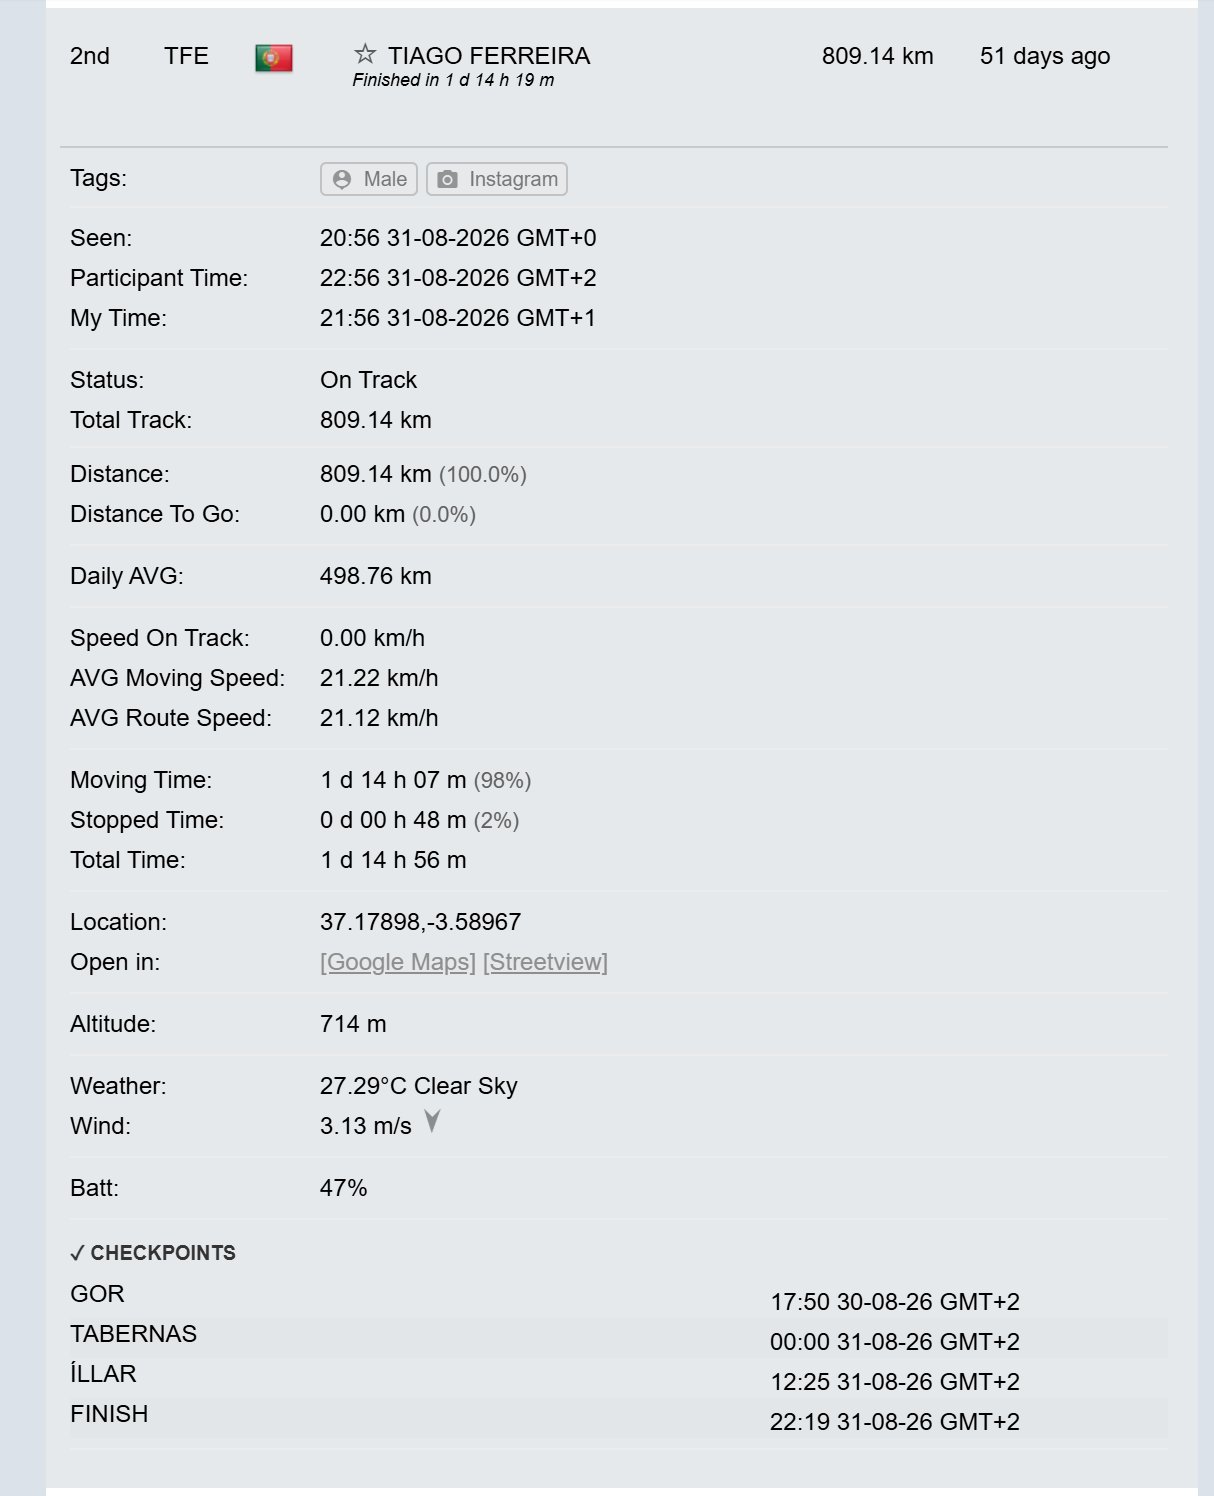
Click a participant’s row to expand it. The map centres on their dot and draws their track.
The expanded row shows the same figures as the participant pop-up, plus:
- Seen, Participant Time and My Time: when their last position was sent, in UTC, in their local time and in yours.
- Status: for example On Track. On fixed-route maps, Total Track gives the full route length.
- Location and Altitude: their coordinates and height.
- Open in:: links to [Google Maps] and [Streetview].
- ✓ CHECKPOINTS: each checkpoint they’ve reached, with the arrival time in their local time.
Participant Profile Links
On some maps, the expanded participant row will display a profile link. This means that the map has participant profiles enabled. The link will either open a profile preview page – if the profile remains unclaimed – or a claimed profile page. These pages show results matched or claimed by that participant, as well as biographical details and social media links. Click on the link to open the profile page in a new tab.

Participant Tags
Click a participant’s name in the list to expand their row. The Tags: line gives extra details the organiser has chosen to add, such as category, age group, bike type or gearing. Not every event uses tags, and what they show varies from event to event.
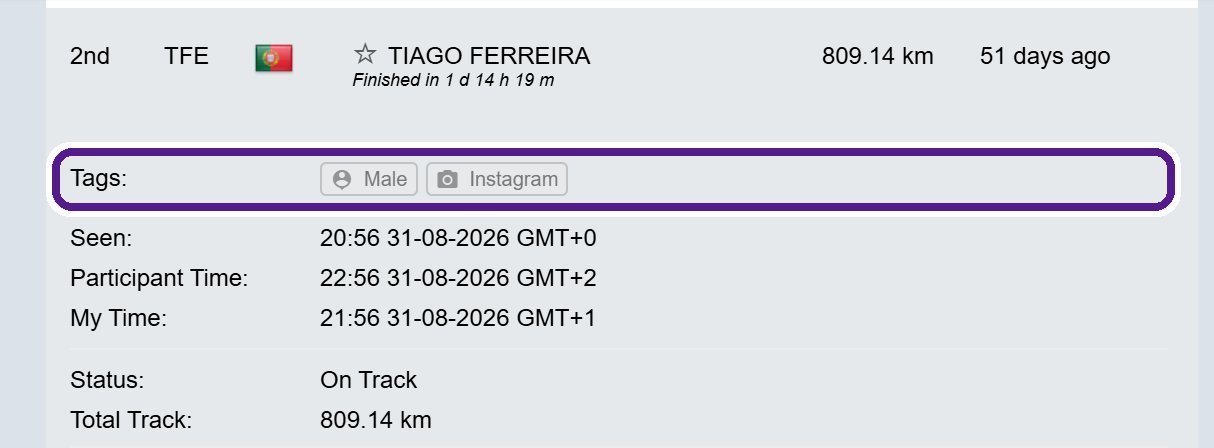
- Some tags are links, for example to the participant’s Instagram or Strava page, or to their participant profile. On some events they include a profile photo.
- You’ll also see tags under the participant’s name in their pop-up, and on many maps in the Leaderboard‘s Tags column and the Analytics tables.
- To show or hide participants by tag, use the Tags filter. See Filters. You can also type a tag into the search box.
- Some events rank participants who share a tag in their own table. See Tag Leaderboards.
Groups/Categories
Often, events have multiple categories or groups, with participants split between them. In the Details panel, the participants are displayed within their categories when these exist. The category/group name is displayed above the list of participants within it.

Each category can be enabled/disabled by using the toggle switch on the right-hand side. Disabling a category hides the participants from both the map and the participant list.

Favourites
Every participant has a star displayed next to their name within the participant list, which allows you to save them as a favourite. Doing this makes them easier to spot by making them more visible on the map and also within the participant list.
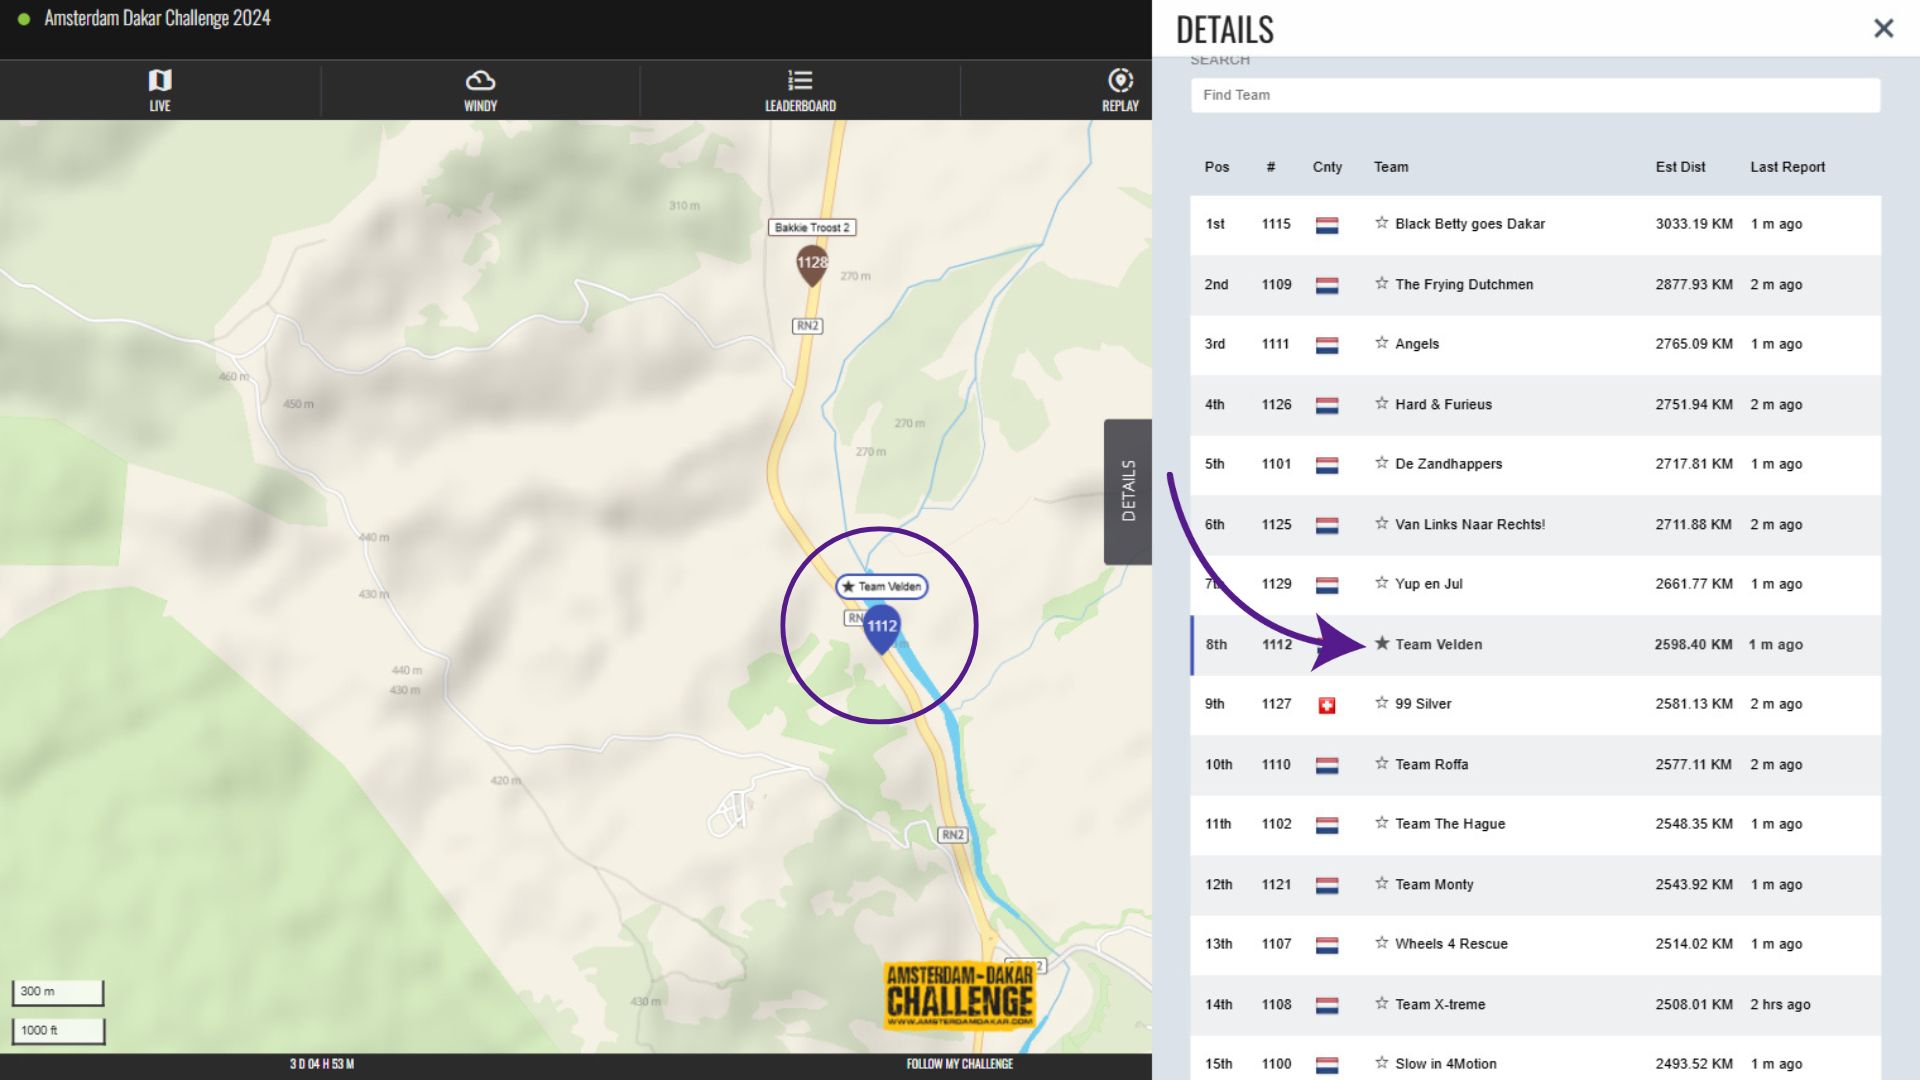
To show only your favourites on the map, open Favorites in the Filters and tick Show only favorites. You can also switch individual favourites on and off there.
To save or share your favourites on another device, use COPY MY FAVORITES in Action Controls. On the Leaderboard, Compare favourites shows just the people you’ve starred.
Last reviewed: October 2026