
3D View tilts the map and raises the terrain, so you can see the hills and valleys along the route.
Switching to 3D
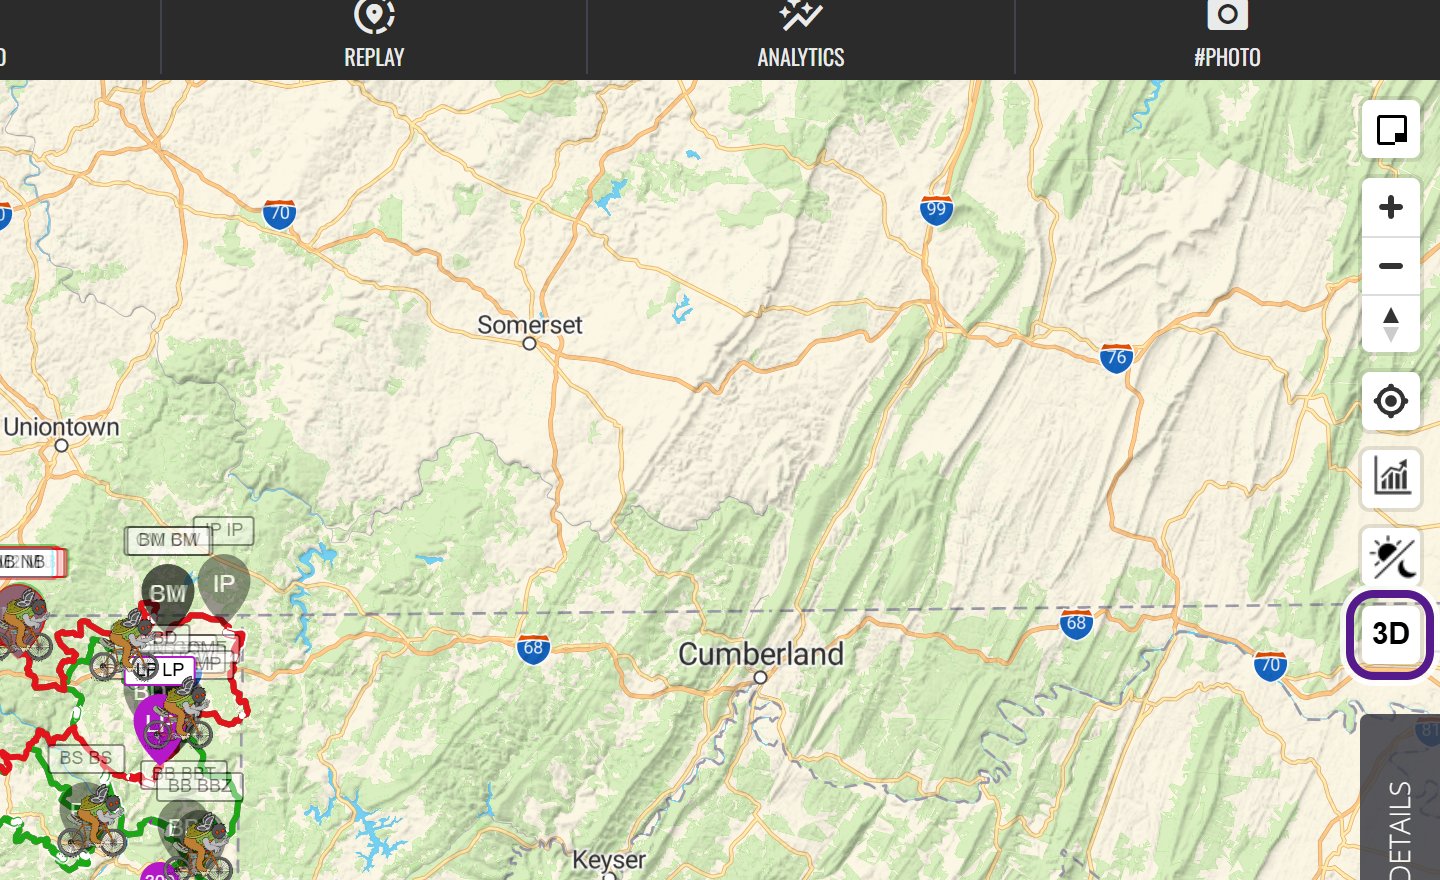
- On the Live map, click or tap the 3D button at the bottom of the column of map buttons in the top right. Its tooltip says Switch to 3-D.
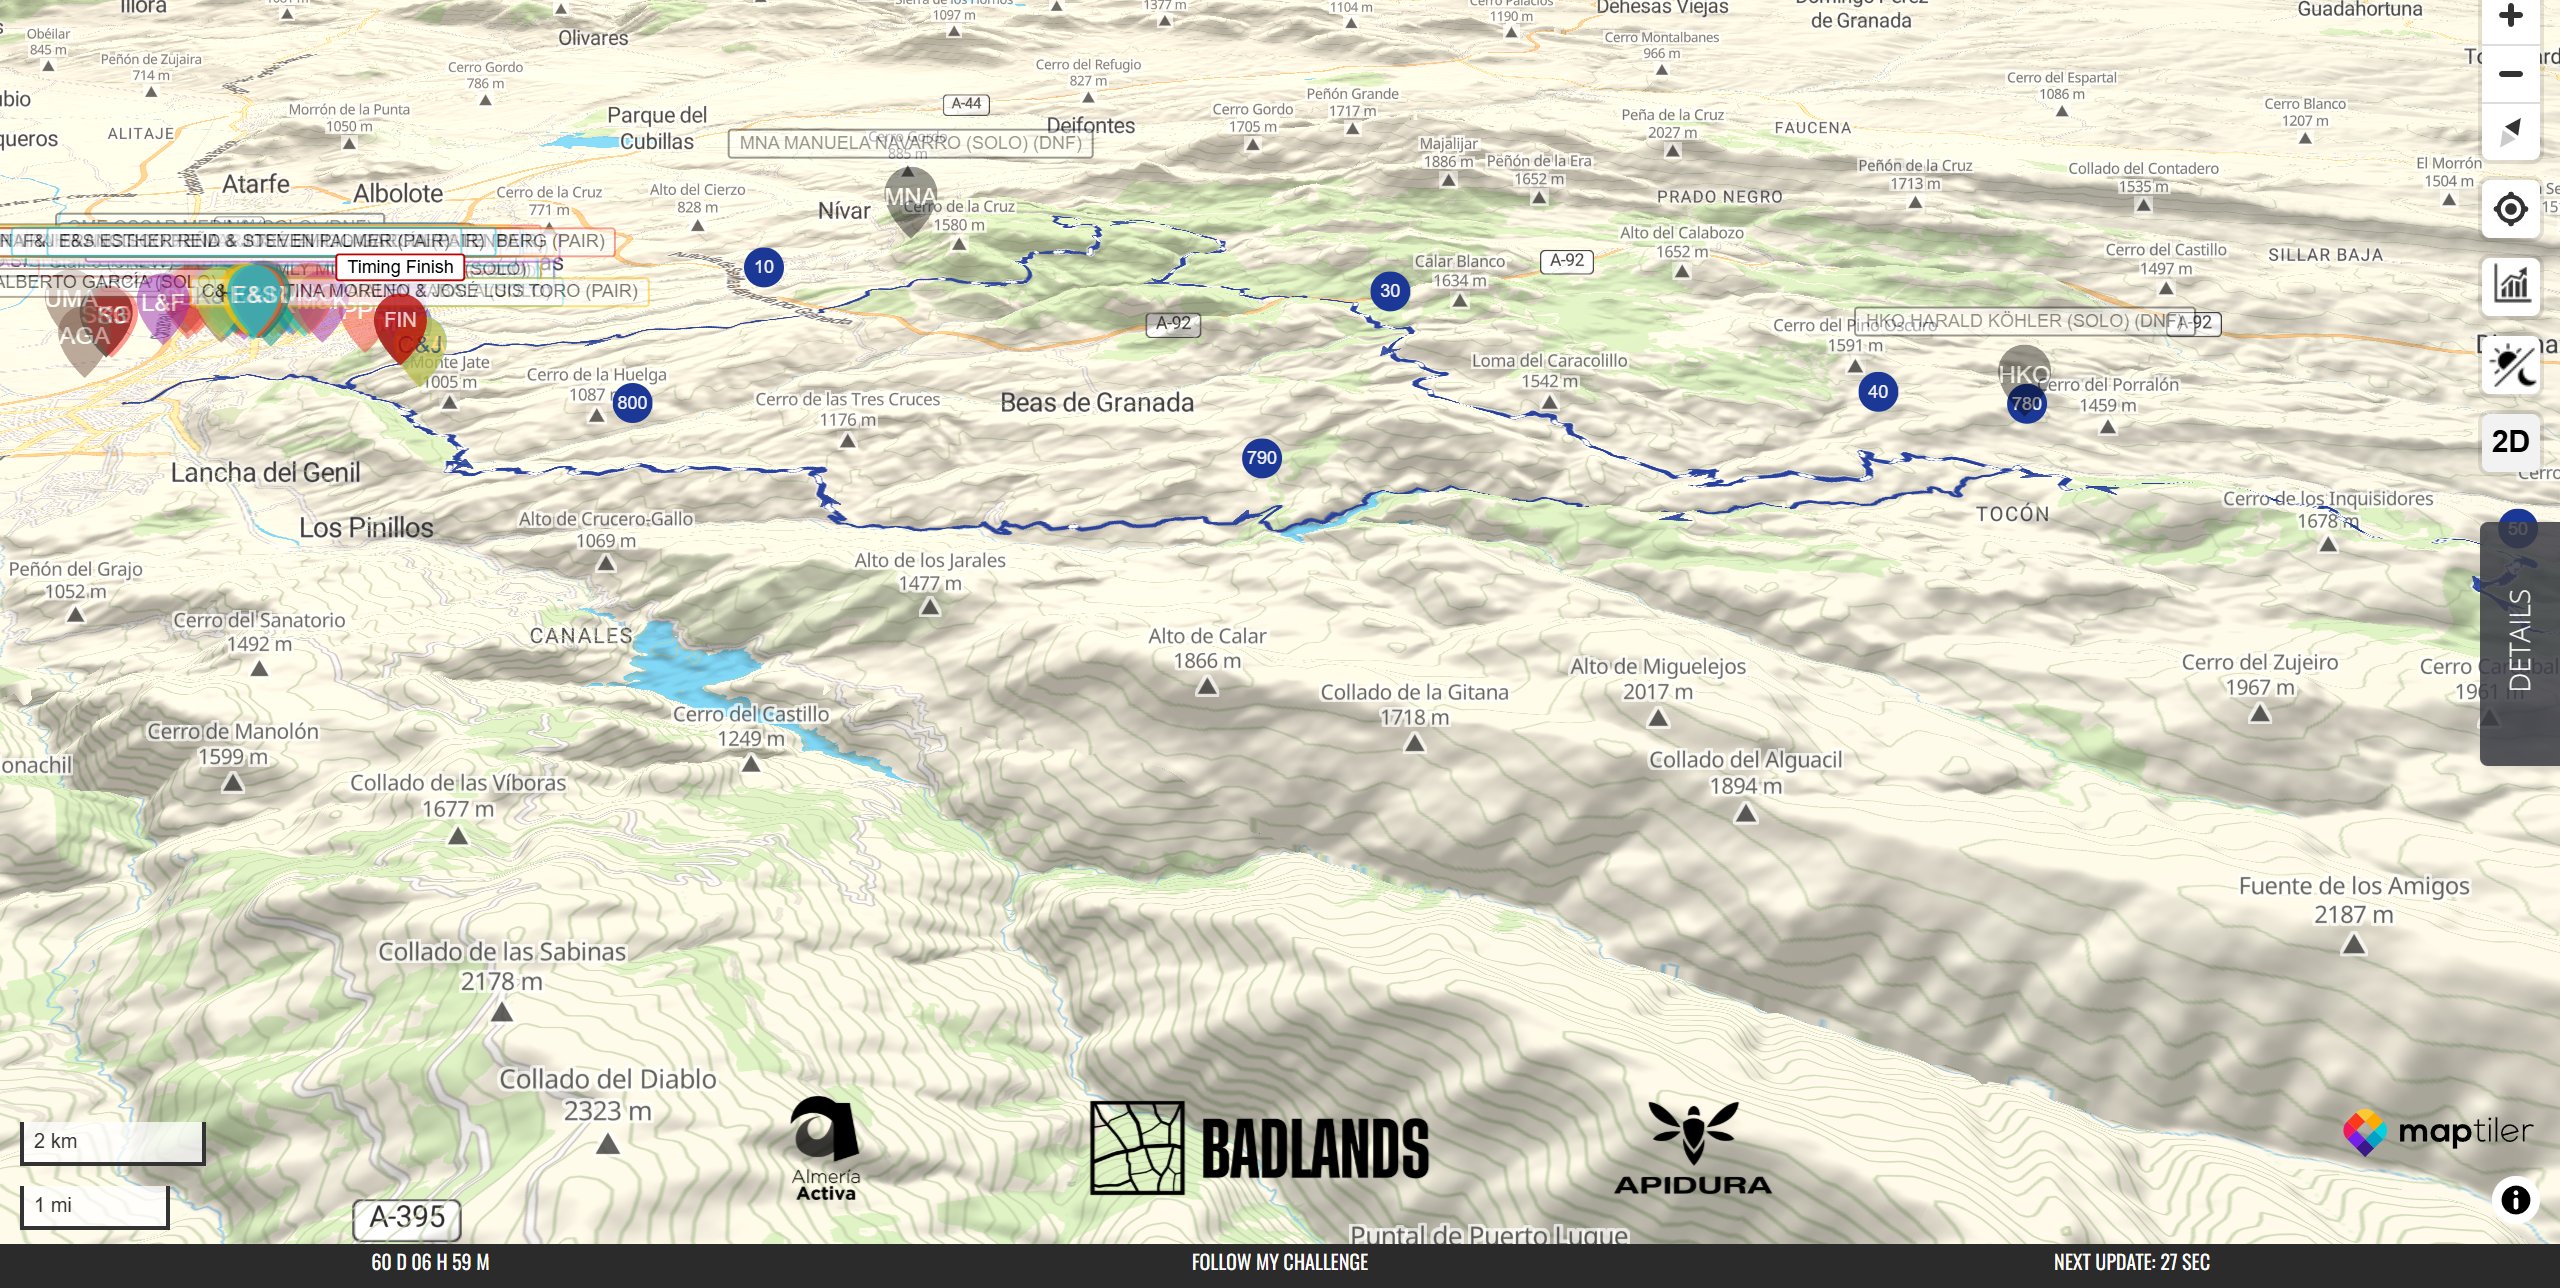
- The map tilts and the 3D terrain loads.
- The button now says 2D. Click it to flatten the map again.
Moving around in 3D
- On a computer, hold Ctrl and drag to tilt and rotate the map, or drag with the right mouse button.
- On a phone or tablet, drag two fingers up or down to tilt the map, and twist them to rotate it.
- To face north again, click the compass button, Drag to rotate map, click to reset north.
- Tilting the map far enough also switches the 3D terrain on, and flattening it switches the terrain off.
Changing the map layer in 3D
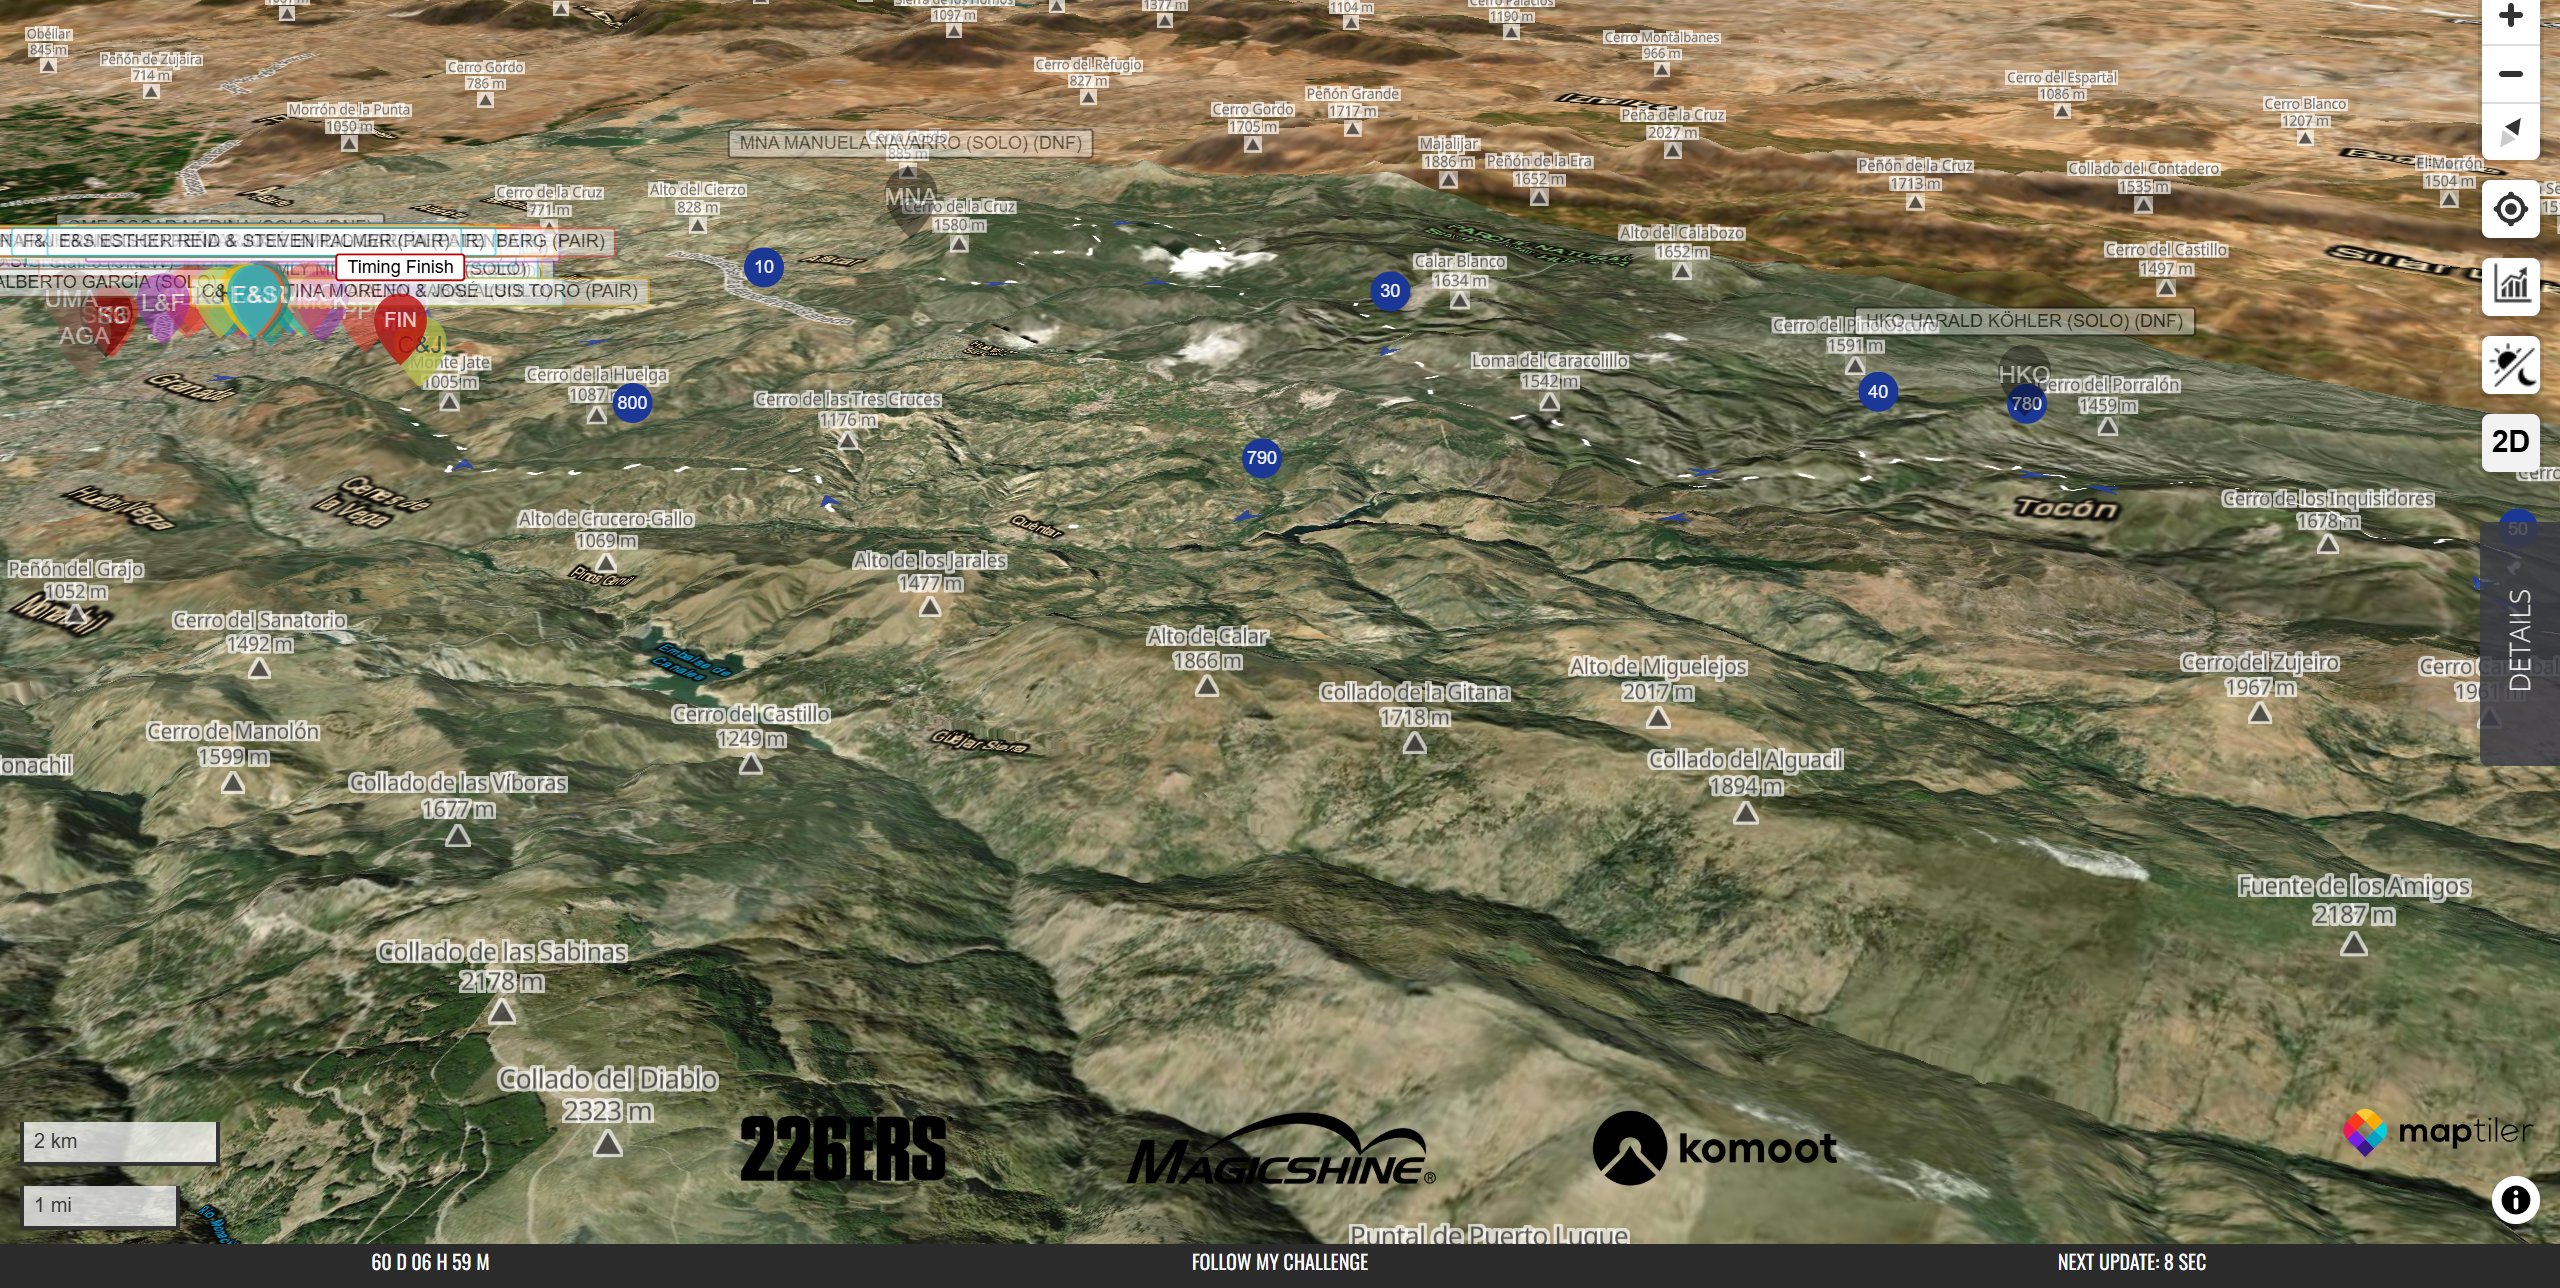
3D View keeps the map layer you’re using, which is usually the default map. To change it:
- Click or tap DETAILS on the right-hand edge of the Live map.
- Open ACTION CONTROLS.
- Under MAP LAYERS:, click a layer, such as SATELLITE. The map stays in 3D.
See Action Controls and Map Layers.
When you might not see it
- Not every map has the 3D button.
- If the button seems to be missing, refresh the page.
- 3D terrain uses more data, so it can take a few seconds to load on a slow connection.
Related articles
Last reviewed: October 2026